How to Get Rid of Bird Mites (and Stop Them Coming Back)
Contents[hide]
To get rid of bird mites, find and remove the bird nest that is feeding them, usually tucked in a wall cavity, attic vent, or chimney. Then vacuum thoroughly and treat the affected rooms with a permethrin spray. Without a bird source, mites cannot survive and die off within a few weeks.
In this article, we’ll cover how to get rid of bird mites by finding the source, treating safely, and sealing the gap so they cannot return.
What Are Bird Mites?
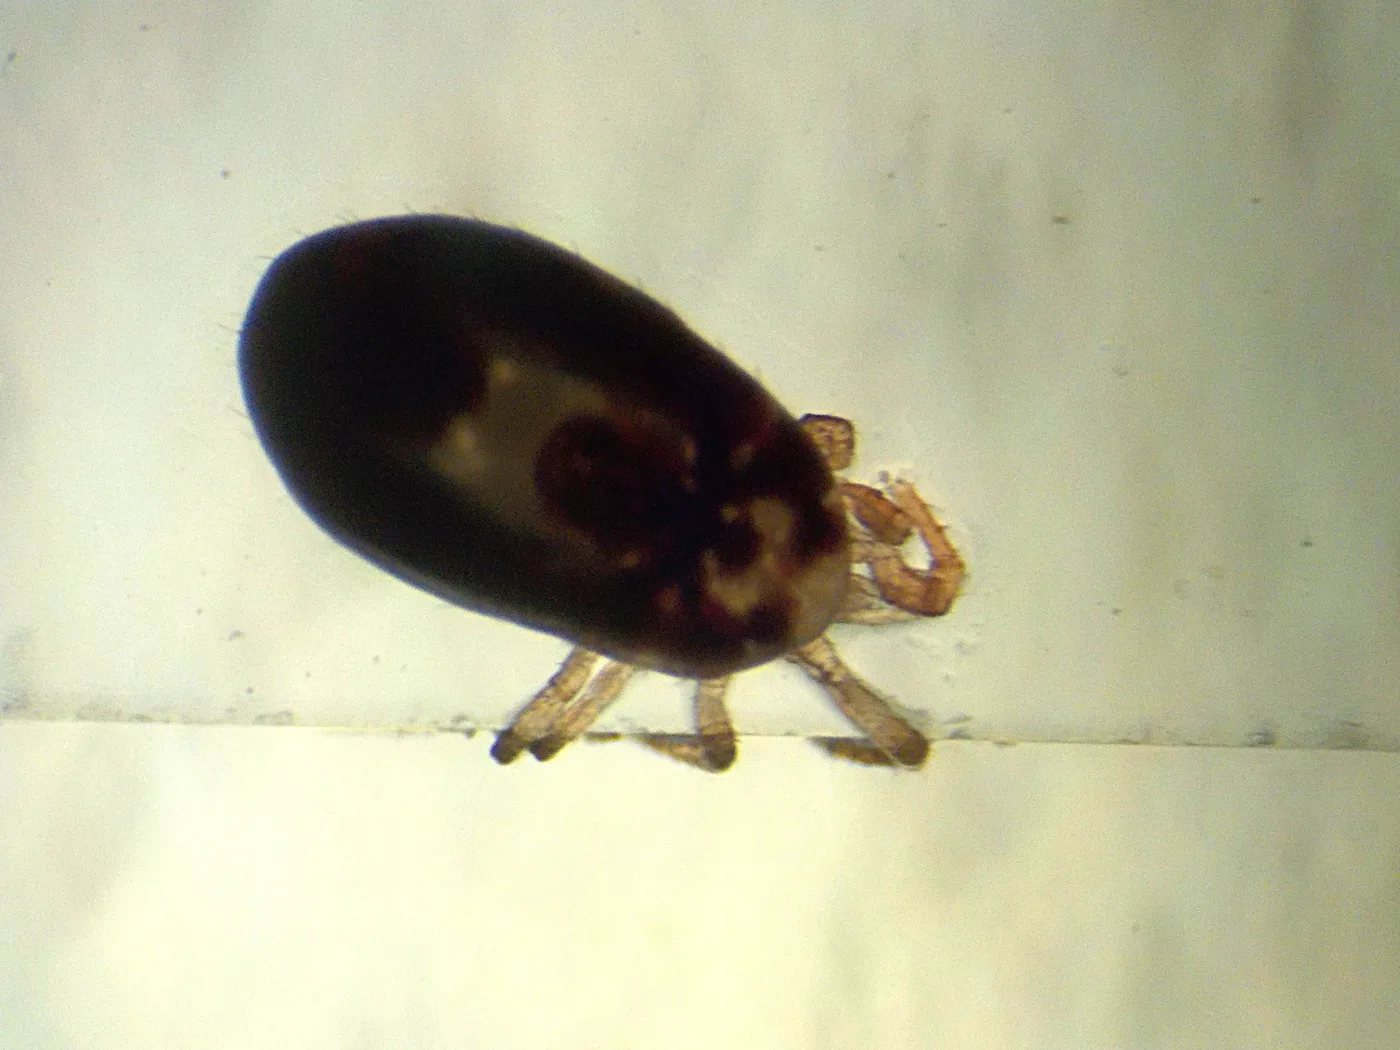
Bird mites are tiny parasitic arachnids that feed on the blood of birds. The two species found most often in homes in North America are the red mite and the northern fowl mite. Both are about 1mm long, right at the edge of visibility. You can sometimes spot them as a faint moving speck, but they are easy to mistake for dust.
When unfed, they are nearly transparent or grayish white. After feeding on blood they turn a distinctive reddish brown, which is where the common name “red mite” comes from. They are most active at night, which is why bites tend to be worse while you are sleeping or sitting still.
Bird mites cannot reproduce on human blood. A mite infestation in a home is always a temporary problem, not a self-sustaining one, as long as you remove the bird source.
Where Bird Mites Come From
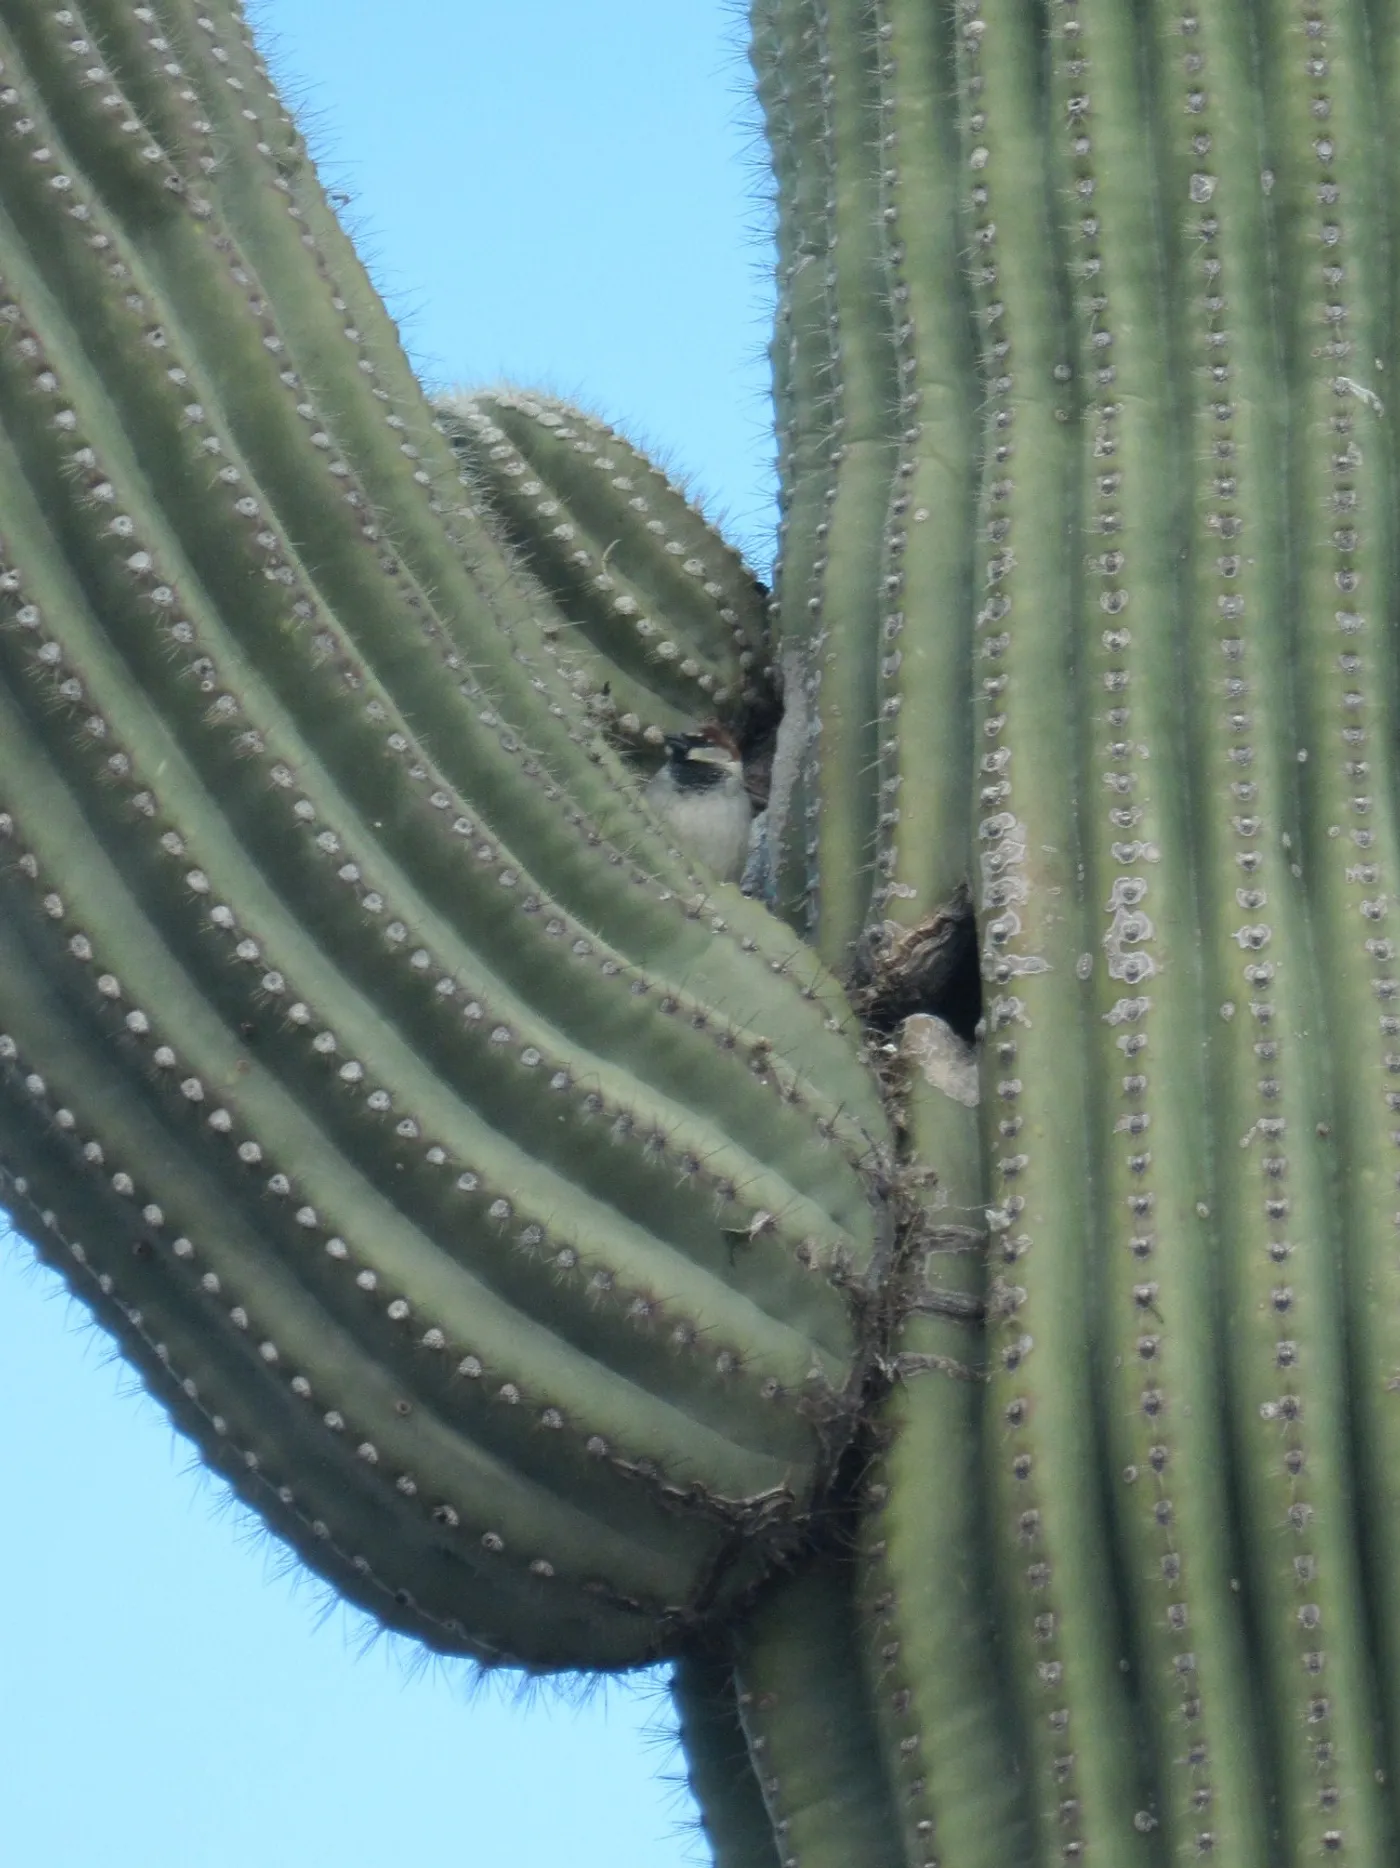
Starlings, house sparrows, and pigeons are the most frequent culprits. They nest in wall cavities, attic vents, chimney tops, and roof eaves, close enough to bring mites into the living space.
When nesting season ends and the birds leave, the mites that remain lose their food source and start looking for a new one. That search brings them through wall gaps, ceiling gaps, and floor gaps into the living space. A bird that dies inside a wall cavity creates the same problem with no visible nest. If mites appear suddenly and you find no nesting material, a dead bird sealed inside a wall is worth checking.
This is why bird mite problems tend to appear suddenly in late spring and summer, often weeks or months after nesting activity began. The nest may be long gone by the time you notice the mites.
Step 1: Find and Remove the Nest
The single most important step is locating and removing the nest. All other treatments are temporary measures if the source is still in place.
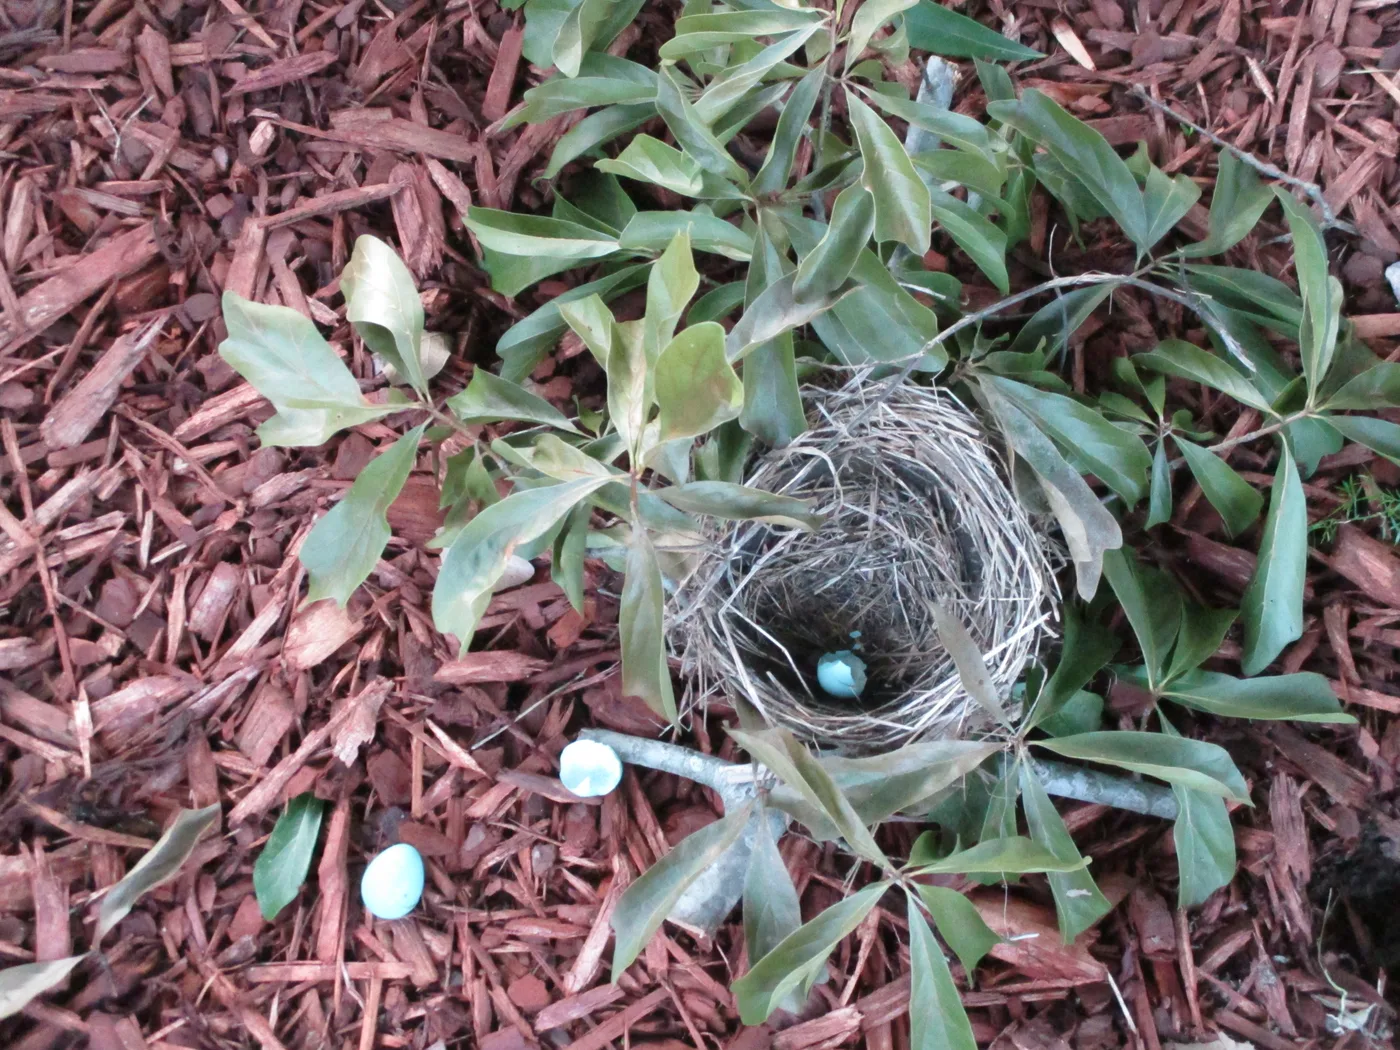
Check the most common nesting spots: roof vents, soffit openings, attic access points, chimney tops, gaps around window AC units, and anywhere you have seen birds roosting. Look for nesting material (twigs, grass, feathers, droppings) packed into gaps or cavities.
For an accessible nest, remove it using gloves and a sealed plastic bag. Dispose of it immediately in an outdoor bin. Do not let the nesting material sit open inside the home. Wipe the area with a diluted bleach solution.
Once nesting season ends, seal the entry point with hardware cloth or caulk. Check local laws first: many native birds are protected under the Migratory Bird Treaty Act, so confirm the nest is inactive before disturbing it.
For a nest inside a wall cavity or deep in the attic, a pest control company can locate and remove it safely.
Step 2: Treat the Affected Area
Once the nest is gone, treat the areas where mites have migrated. This usually means the room or rooms closest to the nest entry point, including walls, floors, windowsills, and soft furnishings.
Start by vacuuming every surface thoroughly: baseboards, carpet edges, upholstered furniture, and curtains. Use a vacuum with a sealed HEPA filter if possible. Remove and dispose of the bag outside immediately after each pass. With a bagless canister, empty it outdoors so you are not shaking mites back into the room.
A permethrin spray kills mites on contact. Any product labeled for mites or spider mites works on bird mites as well. Apply to cracks, wall joints, windowsills, and baseboards. Ventilate well and plan a second application 7 to 10 days later to catch any mites that hatched after the first round.
Two to three treatments over a few weeks is normal for a thorough clearance.
Food-grade diatomaceous earth works well alongside the spray. Apply it along baseboards, into cracks, and around window frames. It damages the mites’ outer coating and dries them out over the next few days. Leave it in place for 48 to 72 hours, then vacuum and reapply as needed.
Wash all bedding and soft furnishings in hot water and dry on high heat, which kills mites at all life stages. A mattress encasement provides a barrier against any mites that made it into the mattress itself.
Step 3: Treat Bites and Relieve Symptoms
Bird mite bites appear as small, intensely itchy red bumps, often in clusters on exposed skin. They are commonly mistaken for mosquito bites or a reaction to detergent. The itching is caused by the mite’s saliva, not by any transmitted disease.
An over-the-counter antihistamine cuts itching a lot, especially at night when mites are most active. Hydrocortisone cream on bite sites helps with local swelling. Showering daily and changing into clean clothes reduces the number of mites on the body.
Tea tree body wash is a popular remedy during active infestations. Neem oil has similar properties that many people find reduce the crawling sensation while the main treatment runs its course. Neither clears the infestation, but both can make the process easier to get through.
Do not scratch the bites if you can avoid it. Secondary skin infections from scratching are the main medical complication, and they can require antibiotic treatment.
How to Prevent Bird Mites From Coming Back
The whole prevention strategy comes down to keeping birds from nesting on or in your home. No nest, no mites.
Start with a walk around the exterior. Check every roof vent, soffit gap, and eave opening. Any gap larger than half an inch is a potential nesting site. Cover them with hardware cloth or purpose-built vent covers that keep birds out while maintaining airflow.
Open chimneys are a common nesting spot for starlings and sparrows. A stainless steel chimney cap keeps them out permanently and also blocks rain and squirrels.
If you spot birds building a nest in a problematic spot, address it before eggs are laid. Once there are eggs, most protected species require you to wait out the nesting cycle before touching the nest. The time to act is early.
Netting works well for larger areas under eaves, along roof edges, or around outbuildings. It blocks access to nesting sites without harming the birds and holds up better than any other fix for repeat problems.
The how to keep birds away guide covers deterrents and exclusion methods for the nesting activity that starts mite problems. The bird-proofing guide has the full breakdown by structure type.
Images: Dermanyssus gallinae microscopic view by Sylvain Larrat, CC BY 4.0; Abandoned Robin Nest by ChasingFeathers, CC BY-SA 4.0; House Sparrow nesting in saguaro cactus by Brambleshire, CC BY-SA 3.0. Via Wikimedia Commons.
Free: The 5-Step Bird-Proofing Checklist
Work through the right steps in the right order, before spending money on the wrong deterrents. Printable PDF, straight to your inbox.
No spam. Unsubscribe any time.